Take Photos That Sell
Great photos are the key to getting your items accepted and sold quickly. Follow these simple tips to capture professional-quality images with just your smartphone.
Minimum 3 Photos Required
All submissions must include at least 3 photos from different angles to be reviewed
Real Photo Examples
See the difference good photography makes
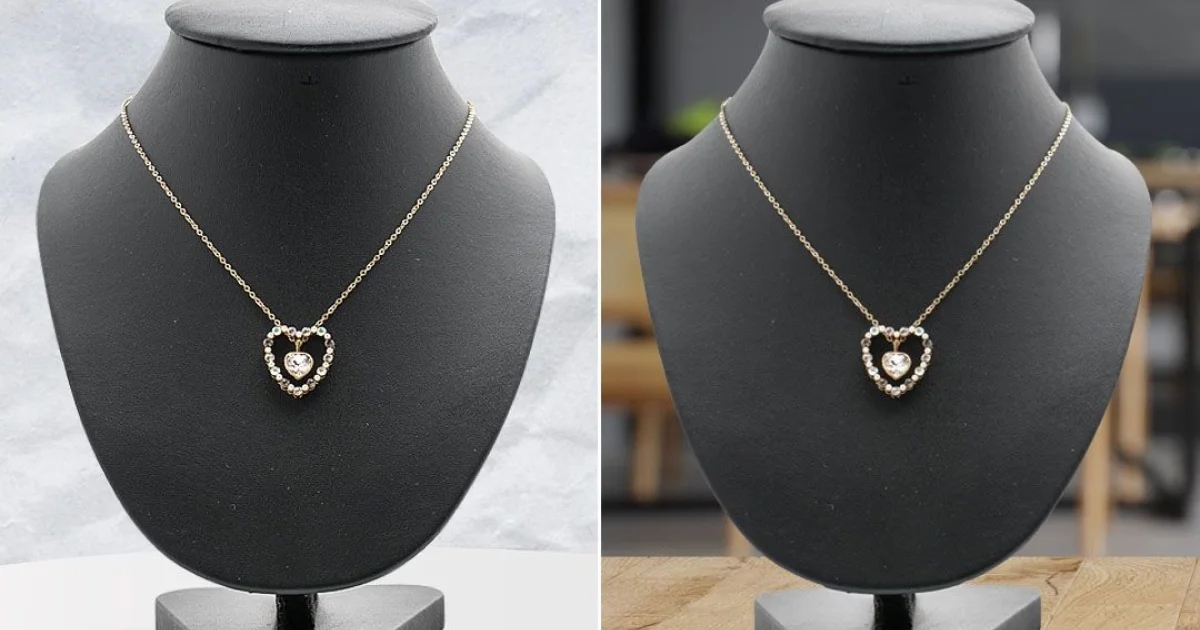
- Clean, professional display stand
- Good lighting shows true colors
- Multiple angles shown side by side
- Item is clearly the focal point

- Poor lighting creates shadows and color issues
- Cluttered or distracting backgrounds
- Blurry or out-of-focus images
- Flash creating harsh reflections
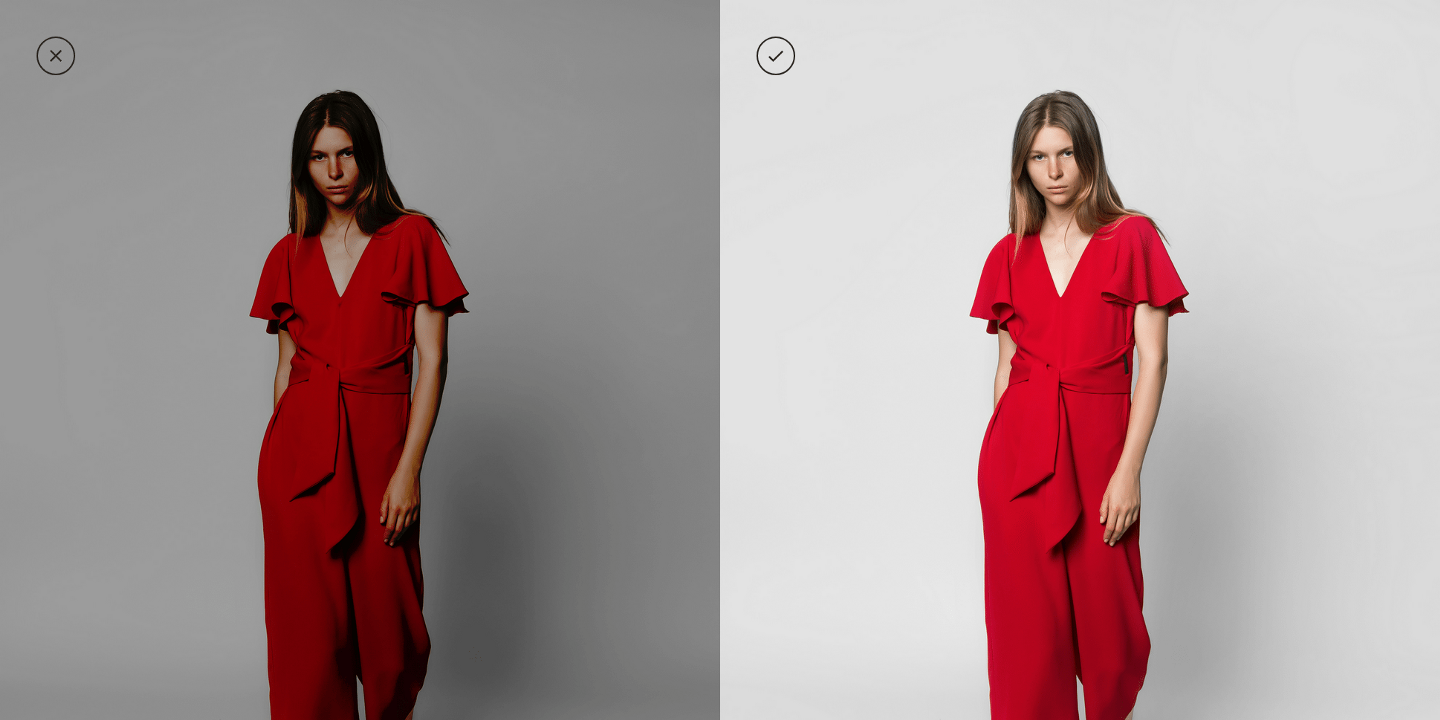
A clean, neutral background makes your item stand out. Notice how the white background in the right image makes the product the clear focal point.
Quick Background Tips:
- Use white poster board ($3 at any craft store)
- A clean white sheet or tablecloth works too
- Remove ALL other items from the frame
- Check for shadows and wrinkles
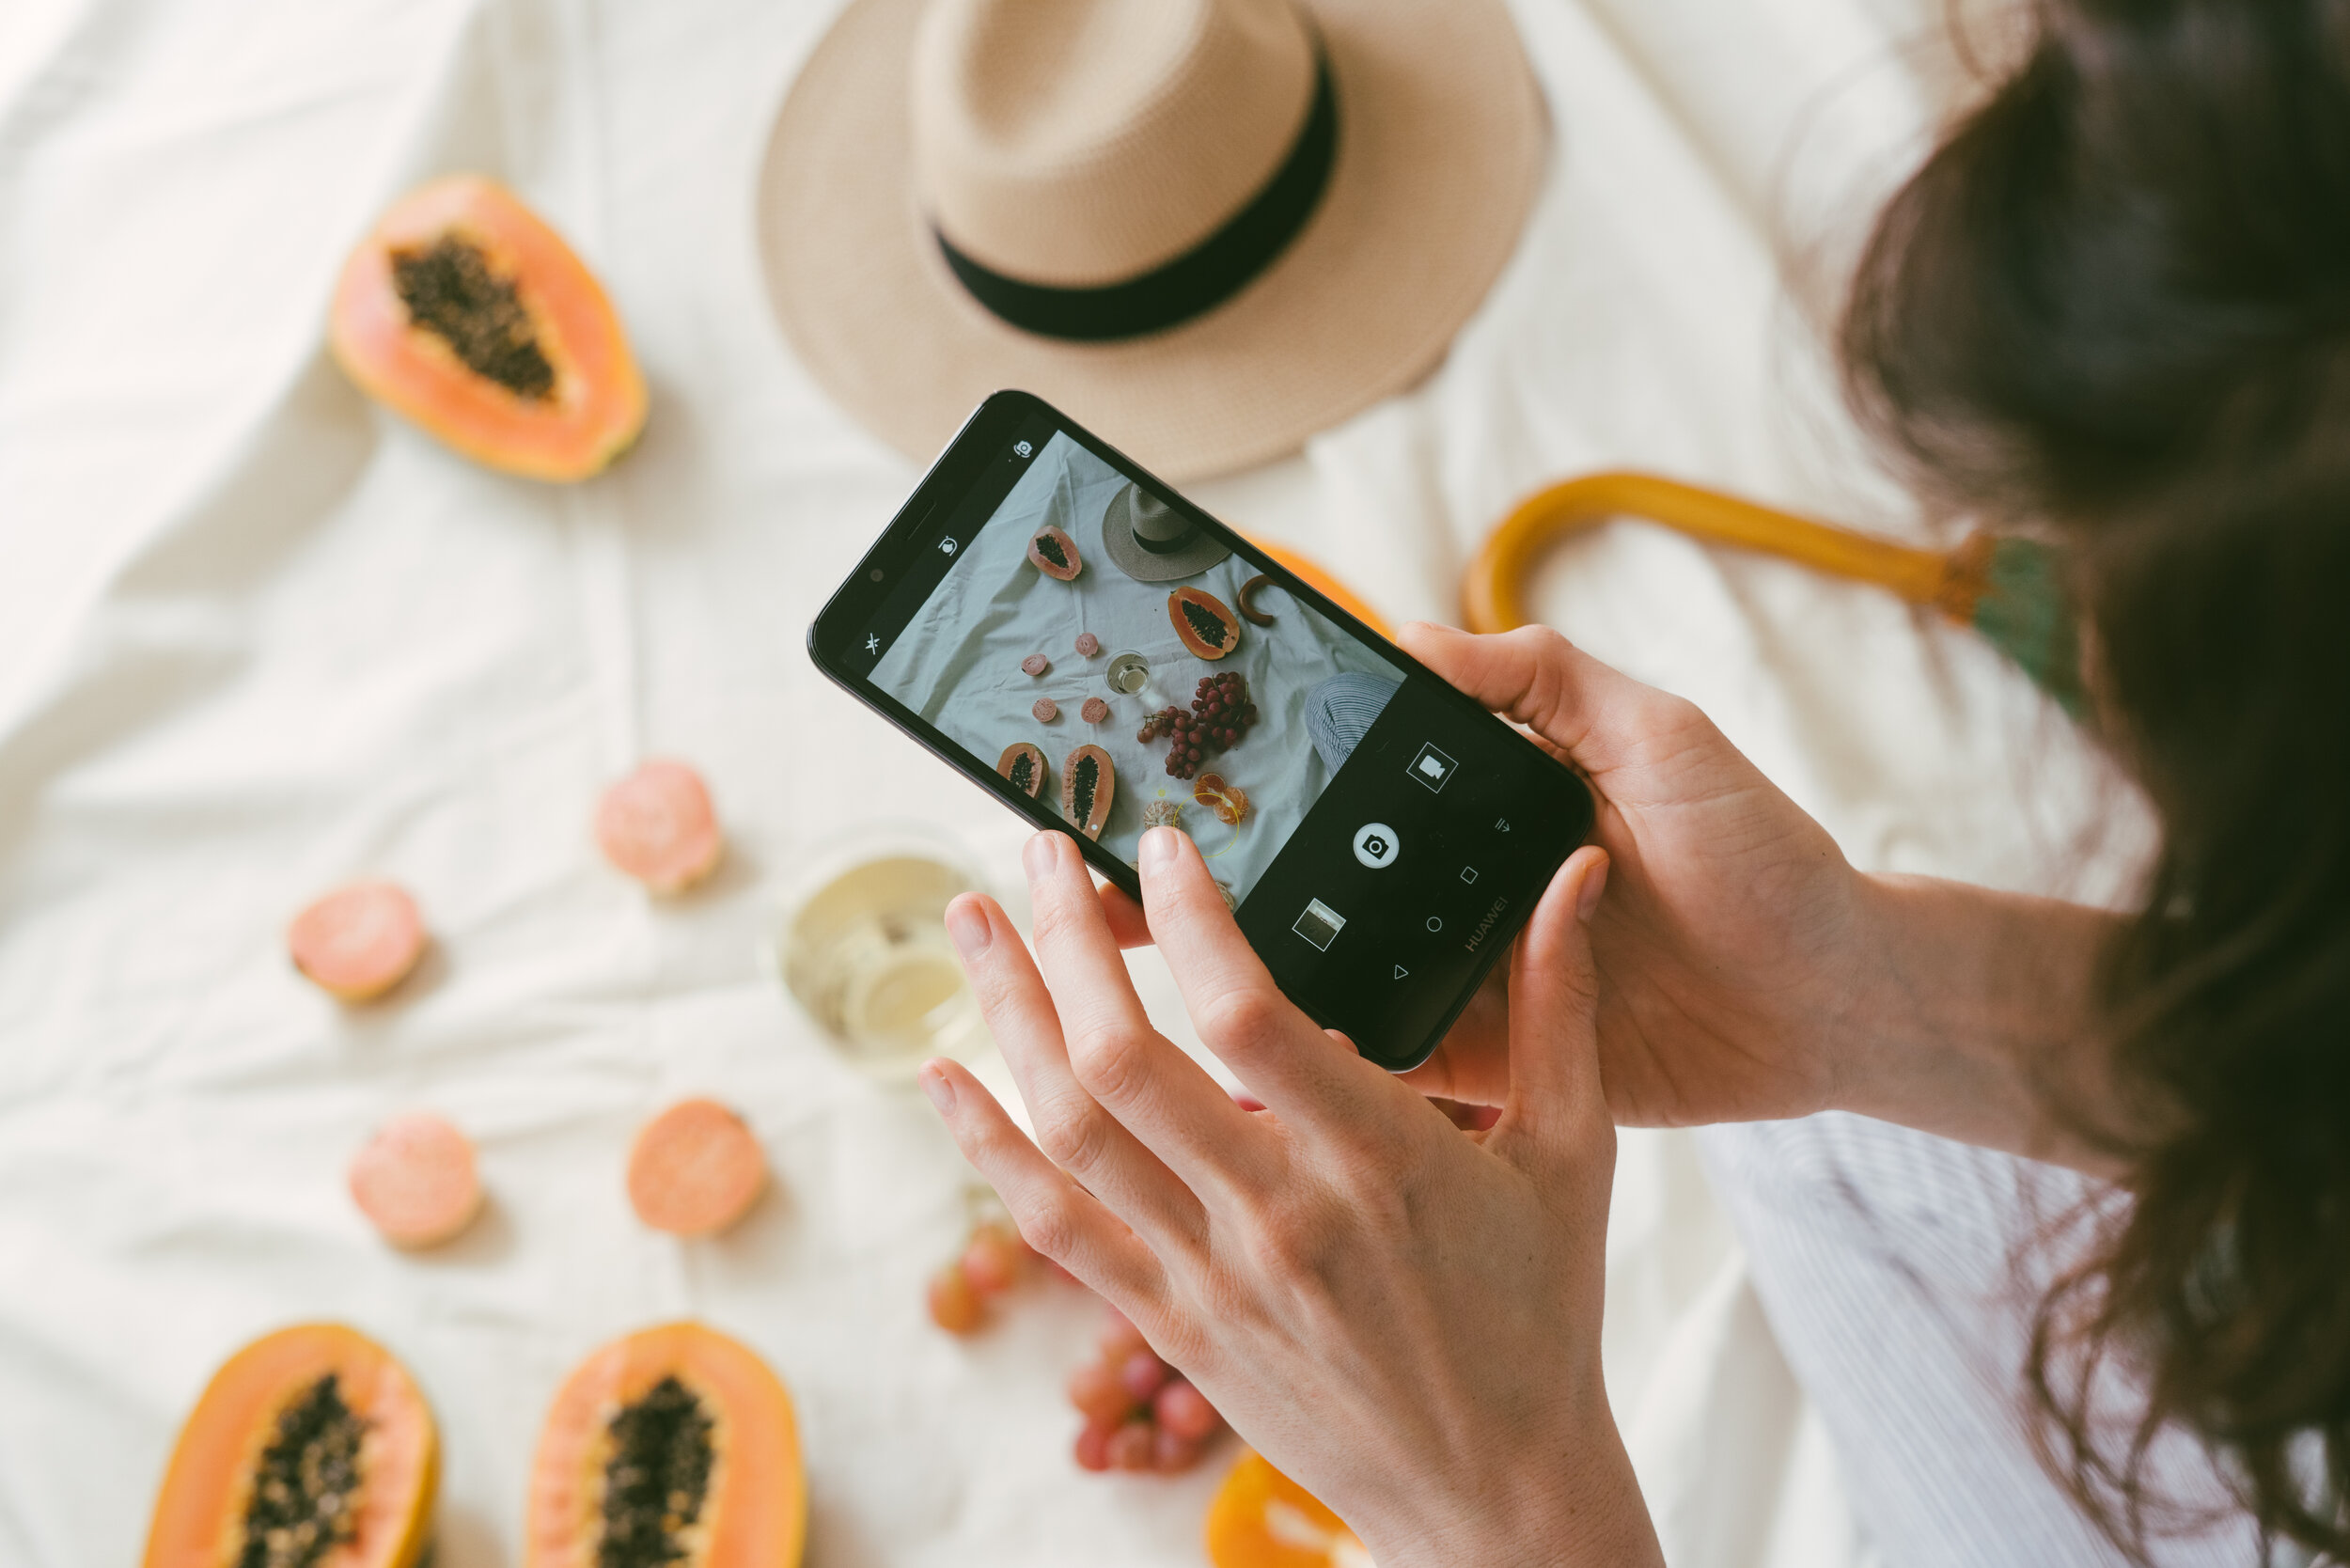
Pro Tip: Natural Light Setup
Position your item near a window with indirect sunlight. Use a white poster board as your background and another as a reflector to fill in shadows. This simple setup produces professional results with just your smartphone!
Detailed Photography Tips
Master each aspect of product photography
Key Tips
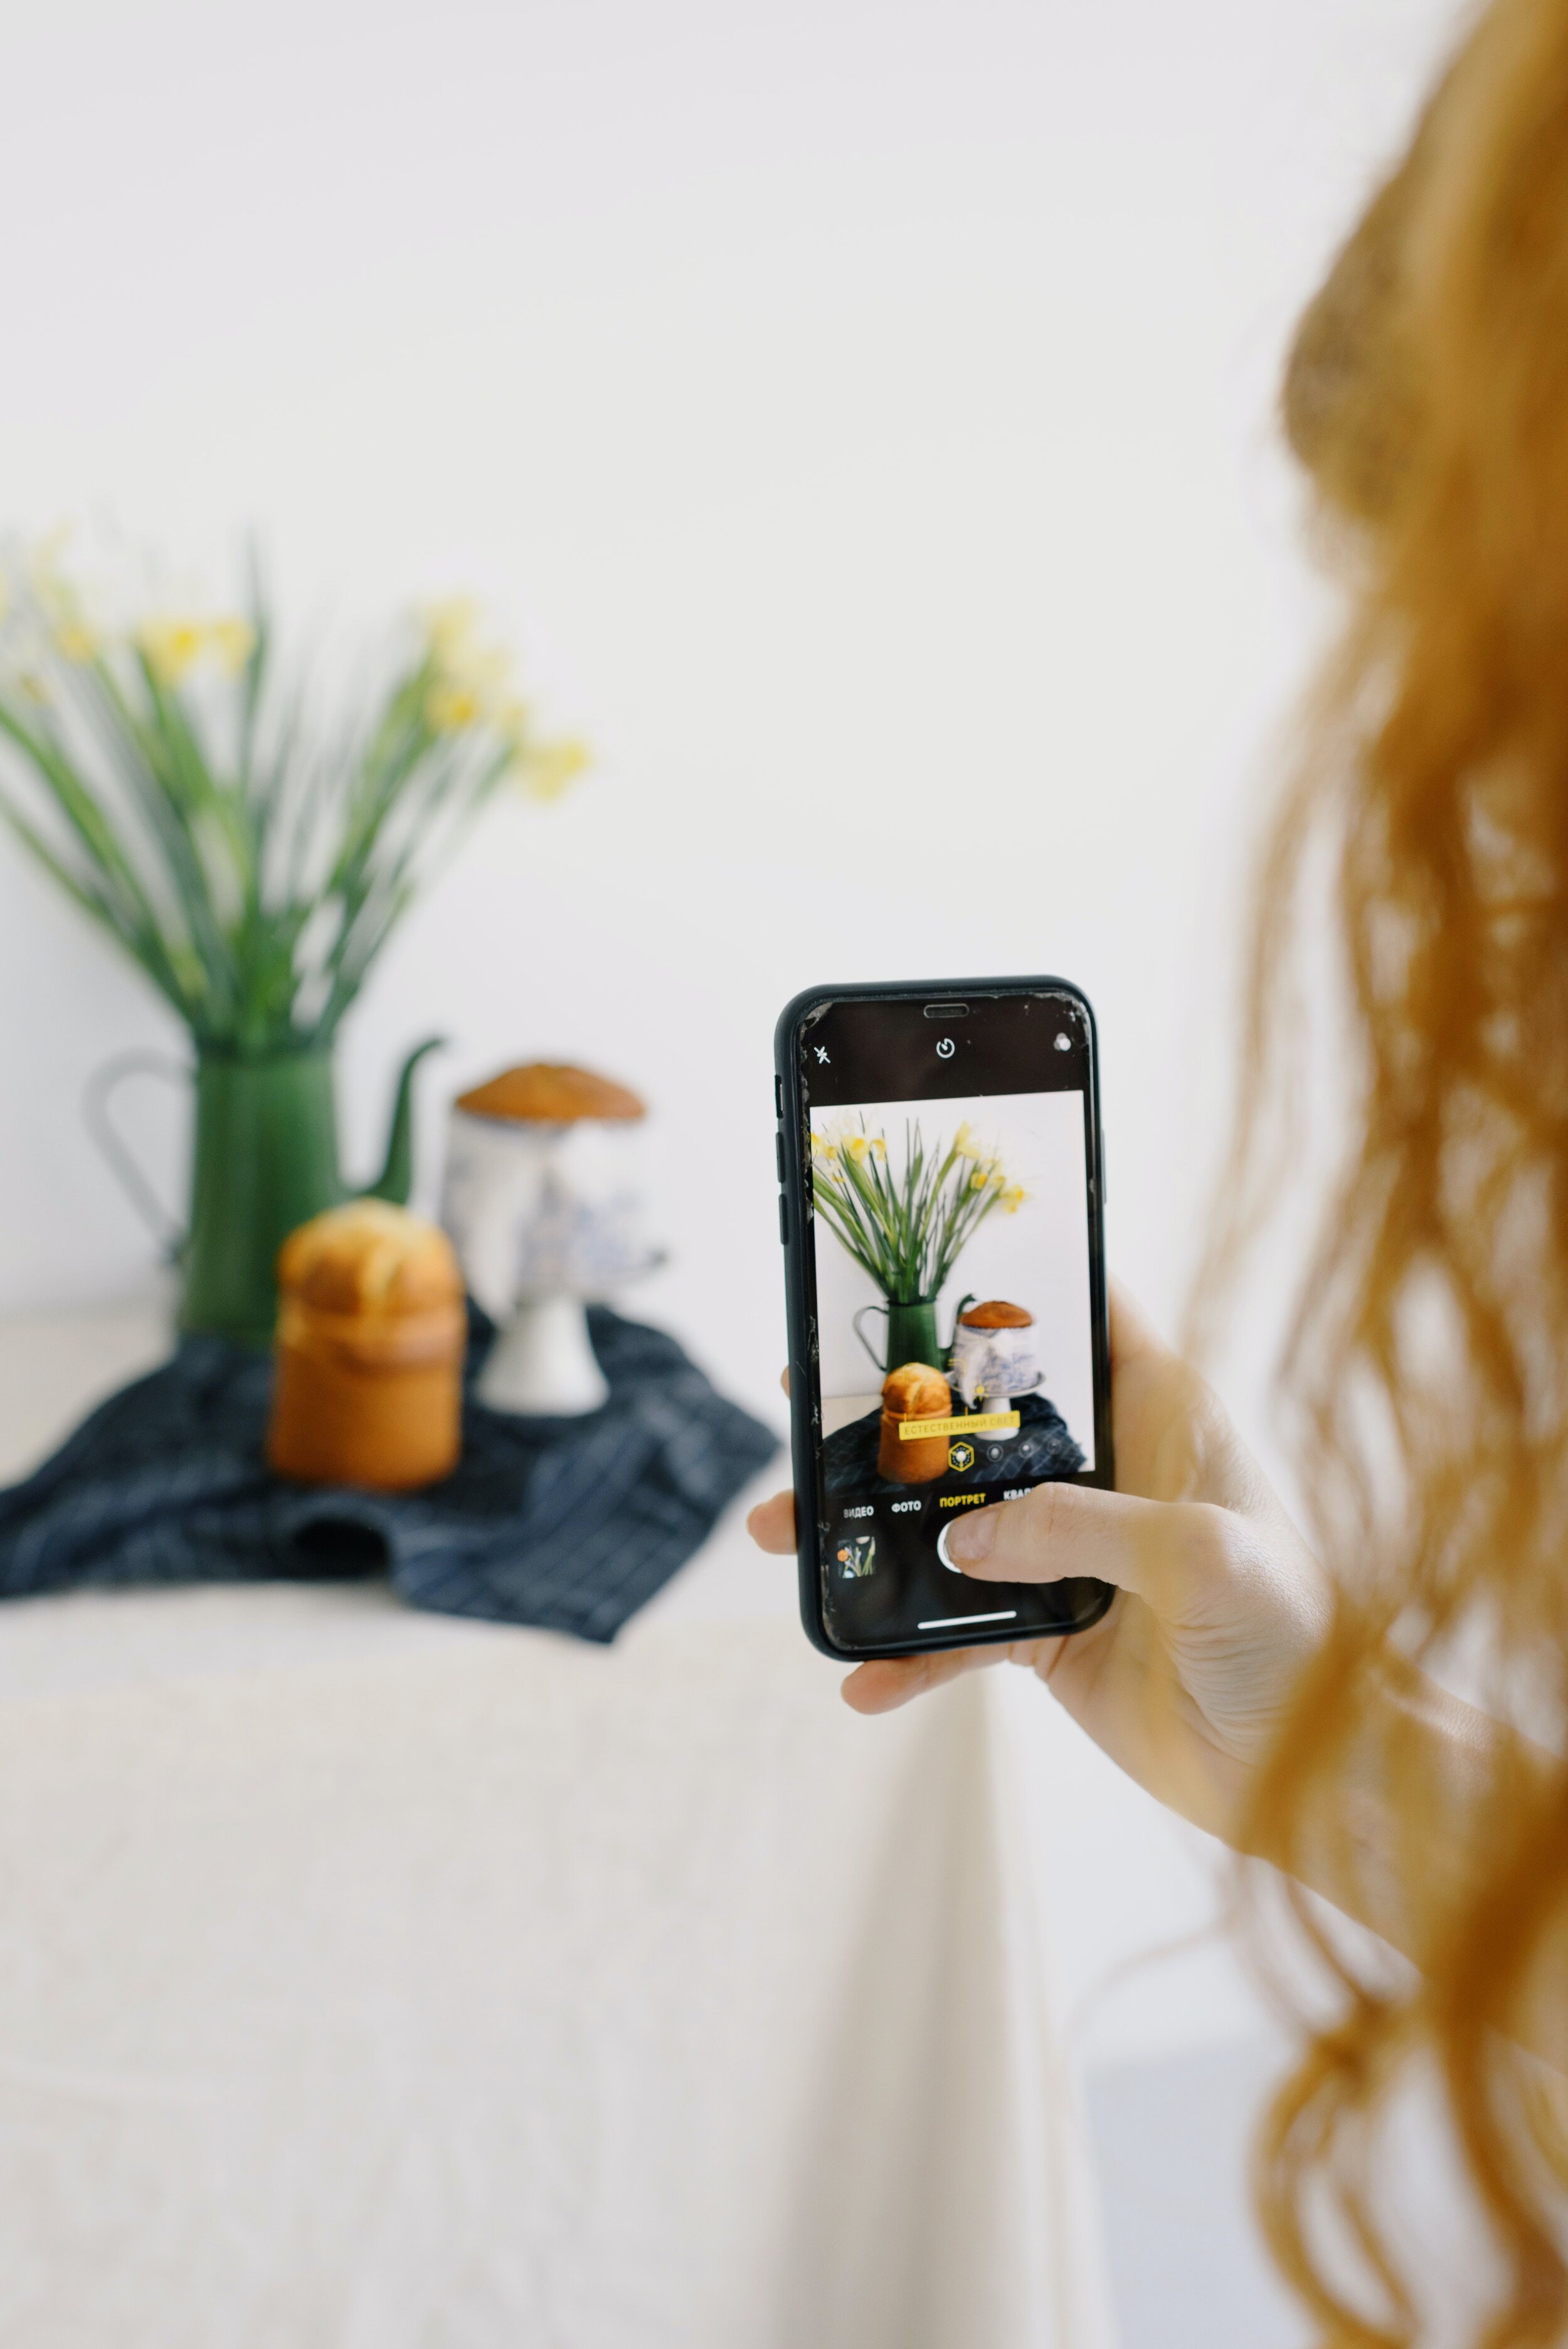
- Use natural daylight whenever possible - photograph near a window
- Avoid harsh direct sunlight which creates strong shadows
- Overcast days provide soft, even lighting that's ideal for photos
- If using artificial light, use white or daylight-balanced bulbs
- Avoid mixing light sources (e.g., sunlight + indoor lamps)
Key Tips
- Use a plain white, cream, or light gray background
- A large piece of poster board or fabric works great
- Remove all clutter and distracting objects
- Ensure the background is clean and wrinkle-free
- For furniture, clear the surrounding area completely
Key Tips
- Take at least 3-6 photos from different angles
- Include: front, back, sides, top (if relevant)
- Capture any unique features or selling points
- Show the item in context if helpful (e.g., furniture in a room)
- Include a photo showing the item's scale/size
Required Shots:
- 1Front View
Main photo showing the item head-on
- 2Back View
Shows condition of back/underside
- 3Detail Shots
Close-ups of special features, labels, any wear
Key Tips
- Photograph brand labels, tags, and authenticity marks
- Capture any serial numbers or model information
- Show texture and material quality up close
- Document any wear, scratches, or imperfections honestly
- Use your phone's macro mode for tiny details
Important Details to Capture:
- Brand labels and logos
- Serial numbers or model numbers
- Material tags (fabric content, etc.)
- Any imperfections or wear (be honest!)
- Special features or craftsmanship
Key Tips
- Clean your camera lens before shooting
- Tap to focus on the item, not the background
- Use the grid lines to keep photos straight
- Avoid using digital zoom - move closer instead
- Turn off flash and use natural light
- Hold your phone steady or use a tripod/stand
- Take multiple shots and choose the best one
Phone Settings:
Common Mistakes to Avoid
Don't let these errors hurt your submission
Using flash
Creates harsh reflections and washes out colors
Blurry photos
Makes item look low quality and hides details
Cluttered background
Distracts from the item and looks unprofessional
Only one or two photos
Buyers can't see condition or details
Dark or yellow photos
Colors look wrong and details are hidden
Hiding flaws
Leads to disputes and returns